Understanding the New Hostname Filters in Google Analytics
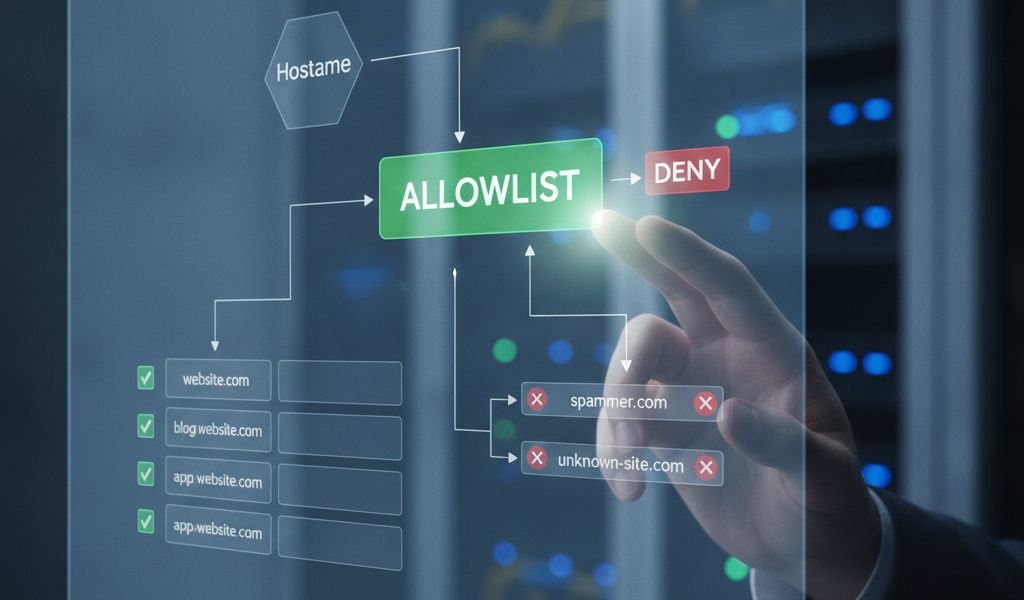
The new Hostname Filters in Google Analytics allow businesses to effectively implement an allowlisting system. This feature lets you specify which hostnames you want to include in your data collection, ensuring that your analytics reflect only genuine traffic from your own domains. For businesses like Globe Boss, a Dublin-based SEO and digital marketing agency, this is particularly important for maintaining data integrity and improving decision-making based on reliable metrics.
What Are Hostname Filters?
Hostname filters are a way to control the data that is collected and reported in Google Analytics. By applying these filters, you can include or exclude specific hostname data based on your requirements. This functionality is crucial for businesses that operate multiple websites or subdomains and want to ensure clarity in their analytic reporting.
Why Implement Hostname Filters?
There are several reasons to implement hostname filters:
- Data Integrity: Ensures that only relevant traffic is tracked, eliminating noise from bots or unnecessary referrer traffic.
- Improved Accuracy: Provides a clearer picture of user interactions on your actual domain.
- Better Reporting: Allows for precise reporting based on user behaviours from specific hostnames.
How to Set Up Hostname Filters in Google Analytics
Setting up hostname filters is a straightforward process. Here’s a step-by-step guide for implementation:
Step 1: Access Your Google Analytics Account
Log into your Google Analytics account and select the property where you’d like to implement hostname filters. This should be the property that corresponds to the domain you want to track.
Step 2: Navigate to Admin Settings
Once inside the property, click on the “Admin” panel located at the bottom left corner.
Step 3: Go to Filter Settings
Under the property column, click on “Filters.” You will be directed to the filters page where you can create new filters or modify existing ones.
Step 4: Create a New Filter
Click on the “+ Add Filter” button. You will need to fill out the necessary information:
- Filter Name: Give your filter a relevant name (e.g., “Allowlist Filter for MyDomain.com”).
- Filter Type: Select “Custom” and then choose “Include” as the filter action.
- Hostname: In the “Filter Field” dropdown, select “Hostname.”
- Filter Pattern: Use a regular expression to specify your allowed hostnames (e.g.,
^mydomain.com$for your main domain).
Step 5: Save Your Filter
After entering your details, click on “Save.” Your filter will then begin applying data according to the specified hostname.
Testing Your Hostname Filter
After you set up your filter, it’s essential to test it to ensure it’s working correctly. You can verify that data is being collected as expected over a short period (1-2 weeks should suffice). Monitor your analytics dashboard closely during this testing phase.
Utilising Google Tag Assistant
To ensure that your tags are firing correctly, you may want to use the Google Tag Assistant Chrome extension. This tool helps you check if your tracking tags are being triggered accurately on your specified hostnames.
Potential Challenges and Solutions
While setting up hostname filters is beneficial, there can be challenges:
Challenge: Incorrect Regular Expression
One common issue is having an incorrect regular expression. Be careful to construct your filter accurately, as a simple mistake can lead to data loss.
Challenge: Excluded Traffic
If you mistakenly exclude legitimate traffic (for example, from subdomains), revisit your filter settings and adjust accordingly, ensuring that you include necessary domains.
Maintaining Your Filters
Once implemented, it’s crucial to routinely check and maintain your hostname filters. This includes updating regular expressions or filter patterns as your business changes, such as adding new domains or modifying existing ones.
For companies operating in the digital space, ensuring that your hostname filters are reflective of your current digital properties is vital for accurate analysis.
Conclusion
In conclusion, the new hostname filters in Google Analytics provide a valuable tool for businesses like Globe Boss to maintain clean and reliable data. By following the steps outlined in this guide, you can set up an effective allowlisting system that aids in achieving accurate reporting and effective strategy development. If you need assistance optimising your analytics setup or require a comprehensive review of your online performance, consider a free SEO audit to identify areas for improvement.
FAQ
What are the benefits of using hostname filters?
Hostname filters enhance data integrity by ensuring that only relevant traffic from selected domains is tracked. They improve the accuracy of your reporting, allowing for better analyses of user behaviours on your actual domain.
How often should I review my hostname filters?
It’s advisable to review your hostname filters every quarter or whenever substantial changes to your digital properties occur, such as launching new domains or subdomains.
Can I track multiple domains with hostname filters?
Yes, you can track multiple domains by using a regular expression that includes all desired domains in your filter pattern.
What is the timeline for seeing results after implementing hostname filters?
Typically, you can begin to see results within 1-2 weeks of applying the filters, depending on your site traffic.
Are there any costs associated with using this feature?
No, implementing hostname filters is a free feature available in Google Analytics, so you can use it without incurring additional costs.
For more information or if you have further questions, email moc.ssobebolg@ofni or call +353 1 868 2345.
Related Posts
 Google Analytics Hostname Filters: What Irish Marketers Must Know Now
 An in depth guide to get started with looker studio the new Google data studio
 Troubleshooting Guide for Google Analytics 4 Measurement IDs
 How to Set Up GA4 Goals That Actually Measure Business Growth
 Google allows custom dimensions in ga4 reports
 Ga4 for ecommerce sites a step by step guide with shopify example
 Movin on
up why migrating to Google analytics 4 ga4 should be a priority search engine
people
Movin on
up why migrating to Google analytics 4 ga4 should be a priority search engine
people What is Google
analytics
What is Google
analytics